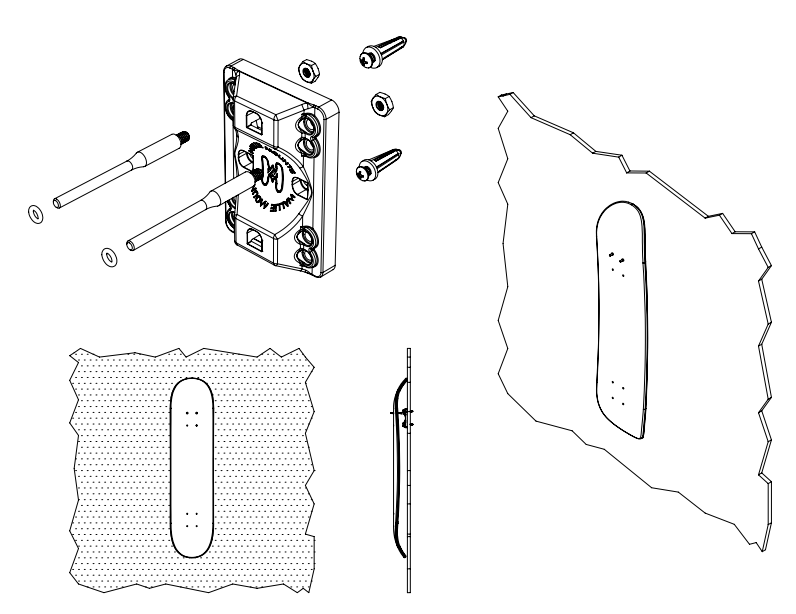
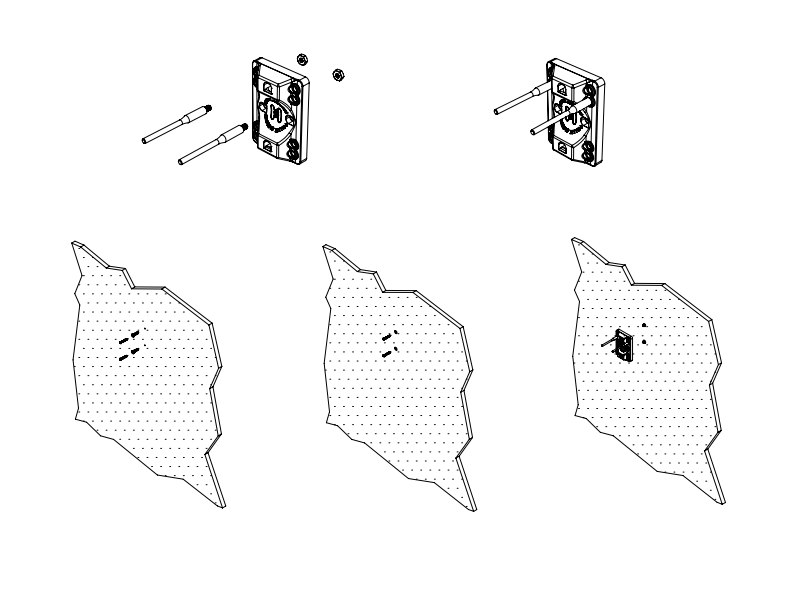
- Drill a hole with a 11/64 drill bit to install the anchor
- Place screw into the anchor and tighten 3/4th of the way
How it Works
Display Your Decks
Find your spot you wish to install
Place the Wallie Mount on the screw, and tighten the screw all the way
(Optional) Once you are sure the unit is placed straight (or at the angle you desire) you can repeat step 1 for a second screw
Hang Your Board
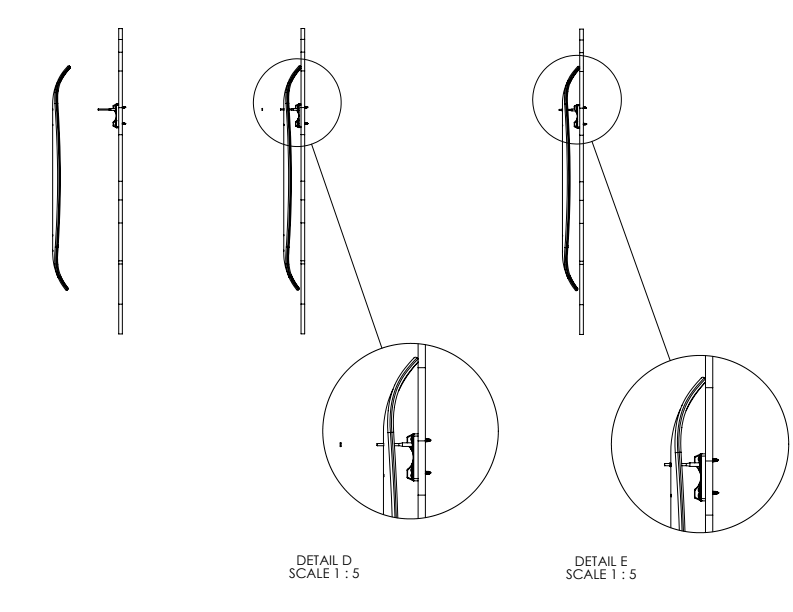
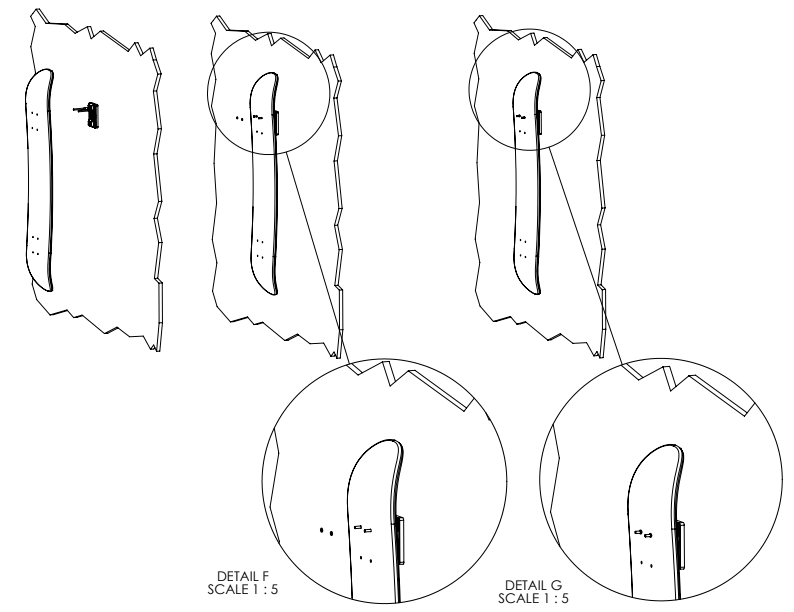
Place Board onto rods
Secure Your Board
Put O-Rings onto rods to secure skateboard in place
FAQs
Find answers to frequently asked questions about Wallie Mounts, including compatibility, installation, and shipping.
The mounts were designed by the owner who lives in San Diego, CA. The production of the units is out of Baldwin Park, CA, just outside of Los Angeles.
Yes! The Mount has the same dimensions as the mounting holes on a skateboard.
Installation Instructions can be found on the “how it works” page on the site. Our Youtube will also feature videos of easy installation.
Yes! The owner/ designer is a 33 year old who has been skating for over 20 years.
One screw is needed if you mount your board vertical or horizontal. However if you wish to display your board at any other angle, two screws are recommended.
Yes. Please reach out prior to ordering to get the most accurate shipping quote.
All sales are final. However if a product is somehow damaged or defected, we will gladly exchange it.
Still have questions?
Contact our support team for further assistance.


